
Best LED Profile Solutions for False Ceilings
Take two finished false ceilings. Both have a narrow line of LED light running across the gypsum. From the floor, they may look almost identical.
Above the ceiling, they could be completely different.
One might use a shallow recessed aluminium profile with a standard LED strip. The other may have a plaster-in profile, COB strip, remote driver, additional feed points and a carefully planned access location. Those differences do not attract much attention once the ceiling is finished, but they decide how the lighting looks, how easy it is to install and what happens when something eventually needs replacing.
So before comparing LED profiles by width, finish or price, decide what kind of ceiling detail you actually want.
For most false-ceiling projects , the useful choices come down to recessed, trimless/plaster-in, deeper linear profiles and concealed cove profiles. They may all hold LED strip, but they are meant to do different jobs.
First, decide how much of the profile you want to see
Some projects need a clean illuminated line with practically no visible aluminium around it. Others simply need a neat recessed fitting that can be installed without turning the gypsum work into a precision exercise.
That distinction quickly separates trimless profiles from conventional recessed profiles.
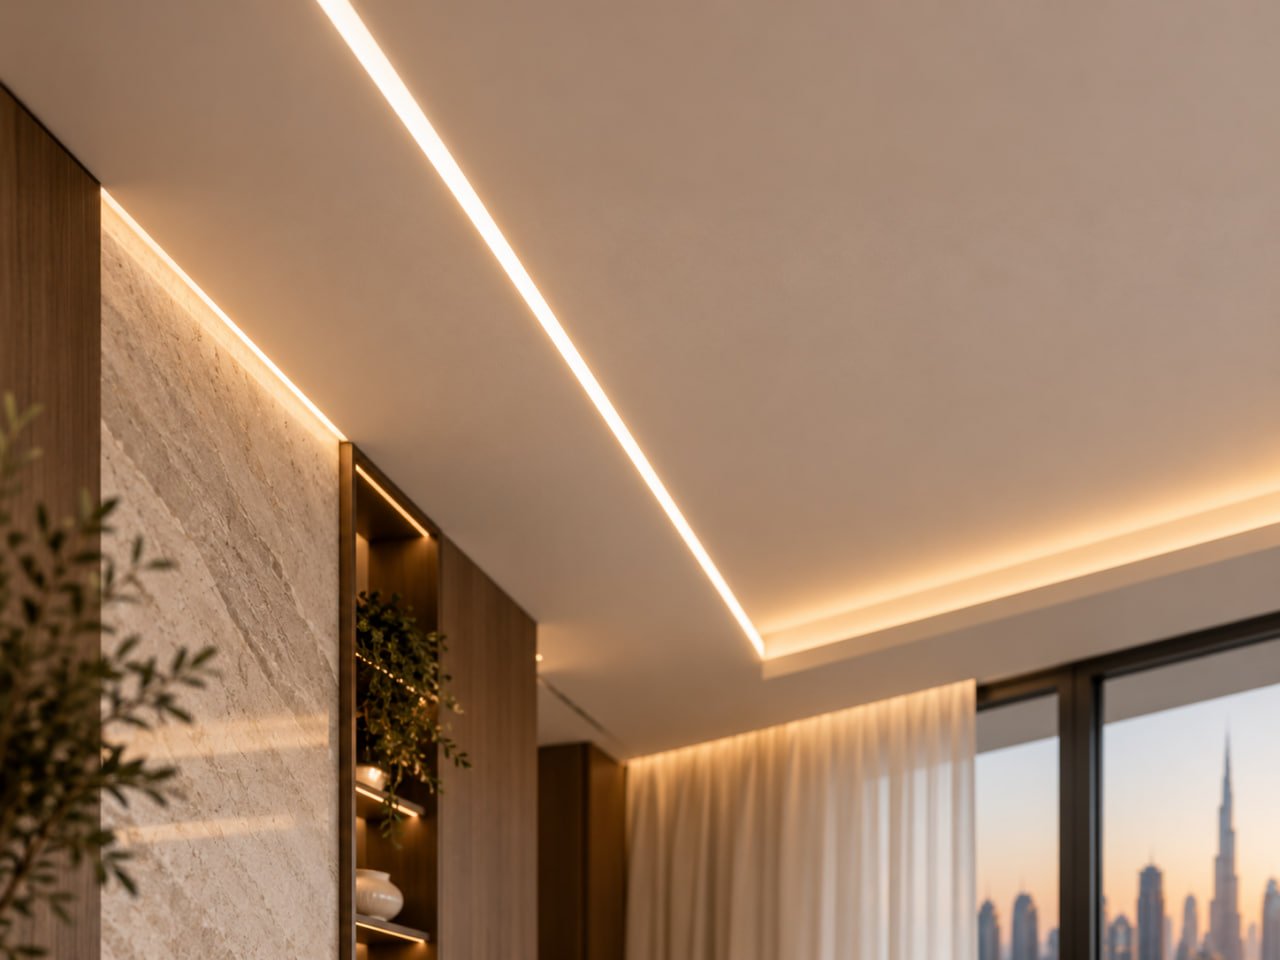
A plaster-in or trimless profile is built into the ceiling finish. Its side wings are fixed into the gypsum construction and covered during finishing. Once the plastering and painting are complete, the mounting edges disappear and the diffuser becomes the visible part of the fitting.
It is a very clean detail.
There is a catch, though. The ceiling contractor has much less room for error.
The extrusion has to remain straight while it is being fixed. Long runs need properly aligned joints. The plaster finish around the channel must be clean, and paint or compound should not interfere with the diffuser slot.
That is why specifying a trimless profile after the ceiling has already been framed is rarely ideal.
Korix’s Linea Plaster-In Aluminium Profile, for example, uses a recessed aluminium body with extended wings designed to become part of the plaster finish. Its internal channel is approximately 20.7 mm wide, while the recessed body is around 10 mm deep. Those dimensions matter before boarding and finishing begin, not afterwards.
A conventional recessed profile works differently. Its visible flange sits over the edge of the ceiling opening.
Visually, that means you see slightly more of the fitting. From an installation point of view, however, the flange can conceal minor imperfections around the opening. On commercial fit-outs, renovation work or ceilings where installation tolerance matters, that can be useful.
So is trimless better?
Not necessarily.
If the design calls for a continuous architectural line that seems to be cut directly into the ceiling, trimless is usually the more appropriate approach. If straightforward installation, easier replacement and a forgiving ceiling opening matter more, a standard recessed profile may make considerably more sense.
The aluminium channel won’t fix a poor LED combination
It is easy to spend too much time comparing extrusion shapes and not enough time looking at what will actually produce the light.
The LED strip and diffuser matter just as much as the profile.
One common disappointment is a finished linear light where every individual LED chip is visible through the cover. Instead of a clean line, the ceiling shows a row of bright dots.
Why does this happen?
Part of the answer is distance. In a very shallow profile, the LED chips sit close to the diffuser, leaving less room for the light to blend before it reaches the visible surface.
A deeper profile creates more separation.
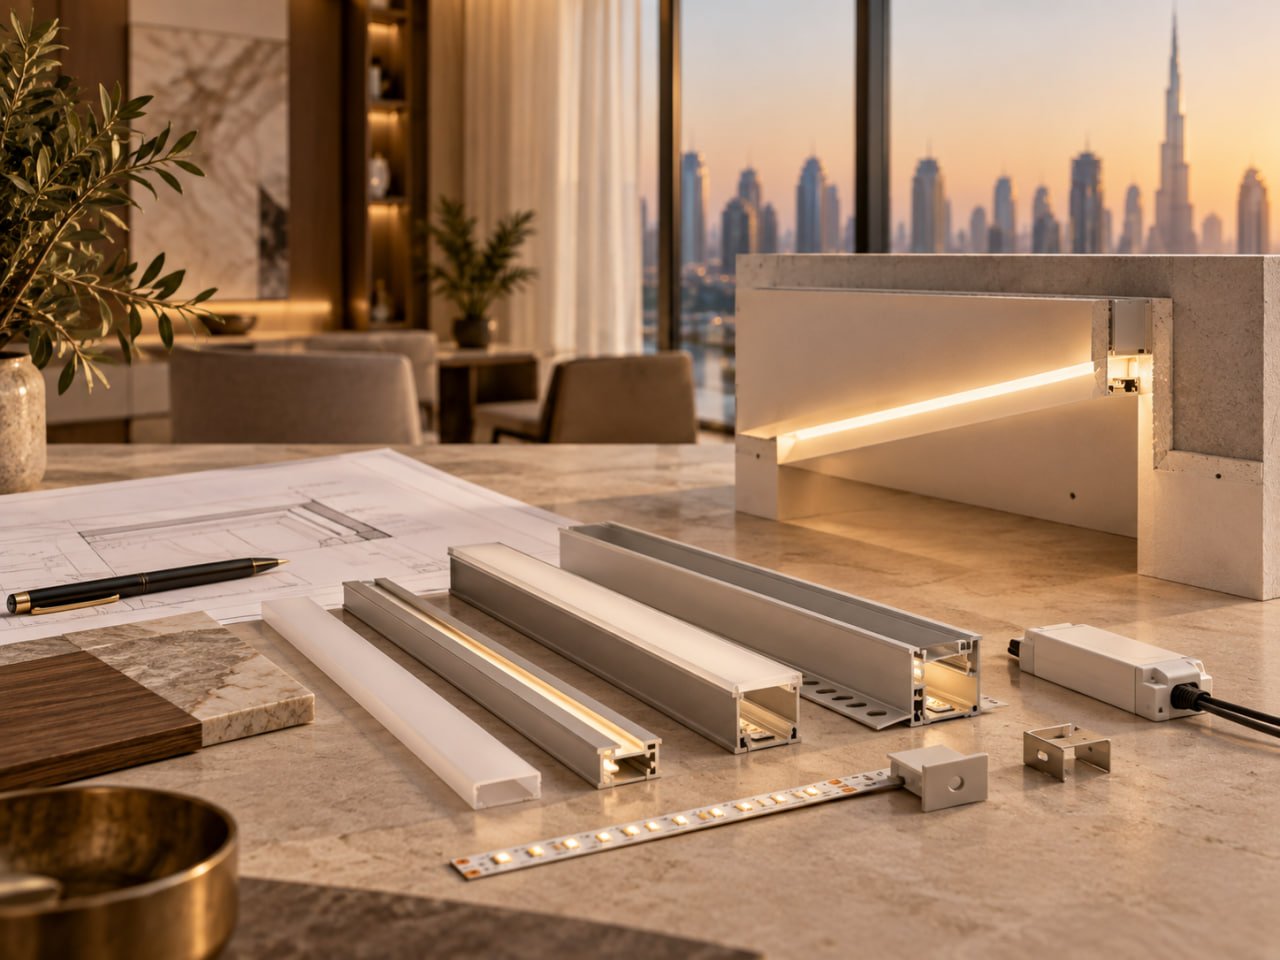
Korix’s Linea Deep Surface/Recessed LED Profile, for example, has a body approximately 20 mm high. With a suitable diffuser and LED strip, that additional depth can help produce a smoother illuminated surface.
But depth by itself is not a guarantee.
Chip spacing matters. Diffuser opacity matters. The width of the channel matters. So does the viewing distance.
This is one reason COB strip has become a useful option for architectural linear lighting. Because the light-emitting points are much more closely packed, it can produce a more continuous-looking line behind a diffuser. High-density SMD strip can also work very well, provided the strip and profile are properly matched.
There is another measurement worth checking before ordering anything: the internal width of the channel.
The external width shown on a profile drawing does not tell you whether a particular LED strip, connector or cable arrangement will fit inside it. Check the usable internal dimension against the actual strip being specified.
It sounds obvious. It is also the kind of mismatch that gets discovered on site surprisingly late.
What about cove lighting?
Cove lighting has a different job.
Here, you normally do not want to see the diffuser at all. The profile sits inside a ceiling recess and throws light onto the ceiling or an adjacent surface.
The reflected light becomes the visible effect.
Because of that, obsessing over whether the diffuser itself looks perfectly dot-free is less useful than checking the profile angle, setback and distance from the illuminated surface.
Move the strip too close and the ceiling can develop a bright band near the source. Move it too far back or hide it behind an oversized lip and useful light output may drop.
A purpose-made cove profile gives the strip a defined mounting position and aluminium surface for heat transfer. It also produces a more repeatable installation than attaching flexible LED tape directly to gypsum.
For perimeter lighting in living rooms, bedrooms, hotel areas and reception spaces, this is often a better route than trying to make a conventional recessed profile do the same job.
There is one component nobody wants to see ,until it fails
The driver
False ceilings make drivers very easy to hide. Sometimes a little too easy.
A driver placed somewhere above several square metres of closed gypsum may work perfectly for years. Then one day it needs to be tested or replaced, and nobody can reach it without cutting the ceiling.
That should be resolved on the drawing.
DEWA’s electrical installation guidance requires appropriate access to wiring-system components that may need inspection, maintenance or replacement. The same guidance addresses inspection around recessed luminaires for issues such as heat buildup and overheating.
For a linear LED installation, the sensible approach is to give the driver a known, serviceable location.
That does not always require a large access panel in the middle of the ceiling. Depending on the project, the driver may be accessible through removable lighting, joinery, an adjacent service area or another approved access point.
What matters is that someone knows where it is and can reach it.
Driver temperature also deserves attention. Hiding a power supply inside the ceiling does not remove its operating-temperature limits. Manufacturer documentation may specify ventilation requirements, case-temperature limits or load derating at higher temperatures.
Dubai’s climate makes this worth taking seriously, although the actual temperature above an air-conditioned false ceiling depends on the building and installation conditions.
Then there is driver sizing.
Suppose a project has a long continuous LED line. The temptation is to total the wattage, buy a power supply and move on.
Not quite.
The strip voltage, watts per metre, total run length, allowable voltage drop, cable size, feed arrangement and driver’s rated load all need to work together. Longer installations may need to be divided or supplied from more than one point.
There is no reliable universal rule saying every 24 V strip can run a particular distance. Check the manufacturer’s data for the strip actually being installed.
And if the lights need dimming, decide that before buying the driver. DALI, 0–10 V, PWM and other control arrangements require compatible equipment. Dimming is not something to assume can always be added after the ceiling has been completed.
A few Dubai-specific details are worth checking before the ceiling closes
The aluminium extrusion itself is only part of the installation.
The completed system can include the LED strip, driver, connectors, wiring, control equipment and, depending on the product, a luminaire assembly.
UAE regulations for lighting products cover product categories that include LED lighting, lighting control gear and general-lighting luminaires. The applicable conformity documentation therefore needs to be checked against the actual products being supplied.
That distinction matters.
A bare aluminium extrusion should not automatically be treated as though it has the same regulatory requirements as an electrical driver or complete luminaire. Conversely, buying an aluminium profile from a local supplier does not by itself confirm that every electrical component installed inside it has the required documentation.
For commercial work, ask for the documentation by product.
Dubai Municipality’s Dubai Building Code provides the wider building requirements for projects in Dubai, while electrical installation requirements also need to comply with the applicable DEWA rules and the requirements of the project consultant and relevant authorities.
Fire-rated ceilings deserve separate attention.
A recessed LED profile creates an opening in the ceiling construction. So can an access panel. Cables also need routes through the assembly.
If that ceiling forms part of a tested fire-resisting construction, do not assume a low-voltage LED strip or aluminium channel automatically preserves the rating. The ceiling detail has to be reviewed as part of the specified assembly.
For a decorative false ceiling inside a villa, the coordination may be relatively simple. A hotel corridor, retail unit or commercial office can be a different matter altogether.
Now compare profiles — but compare the finished system
This is where quotations can become misleading.
Supplier A offers an LED profile at one price per metre. Supplier B appears much more expensive.
Are they actually quoting the same thing?
One price might cover the aluminium extrusion and diffuser. The other may include LED strip, end caps, driver, connectors, cutting and installation.
With plaster-in profiles, gypsum finishing and painting may still be excluded from both.
A useful quotation should make it possible to see exactly what will be installed. At minimum, confirm the profile model and length, LED strip specification, diffuser type, driver, controls, accessories and installation responsibilities.
For trimless work, also establish who is responsible for coordinating the profile with the gypsum contractor.
That last point can prevent a familiar argument on site: the lighting contractor says the profile was installed correctly, while the gypsum contractor says the extrusion was not positioned for the required finish.
It is better to resolve the interface before either trade starts.
So, which LED profile makes sense for your ceiling?
For a new gypsum ceiling where the objective is a very clean architectural line, start by looking at a trimless or plaster-in profile.
If the project needs a recessed line but easier installation and more tolerance around the ceiling opening are useful, a flanged recessed profile is often the more practical choice.
Can you see the diffuser directly from normal viewing positions? Then profile depth and LED density become more important. A deeper aluminium channel combined with COB or suitable high-density LED strip may produce the cleaner result.
And if the intention is indirect perimeter lighting rather than a visible luminous line, look at a dedicated cove profile instead.
There is no benefit in specifying the most sophisticated profile if the ceiling construction, LED strip or maintenance arrangement cannot support it.
One of the easiest ways to get a more useful recommendation is to send the supplier a reflected ceiling plan rather than a request for “LED profile.”
Show the lengths. Mark the corners. Mention whether the light itself will be visible or concealed. Give the ceiling build-up if it is known. Add the required colour temperature and dimming method.
And tell them where the drivers can go.
Those few pieces of information usually say far more about the correct LED profile than a catalogue photograph ever will.